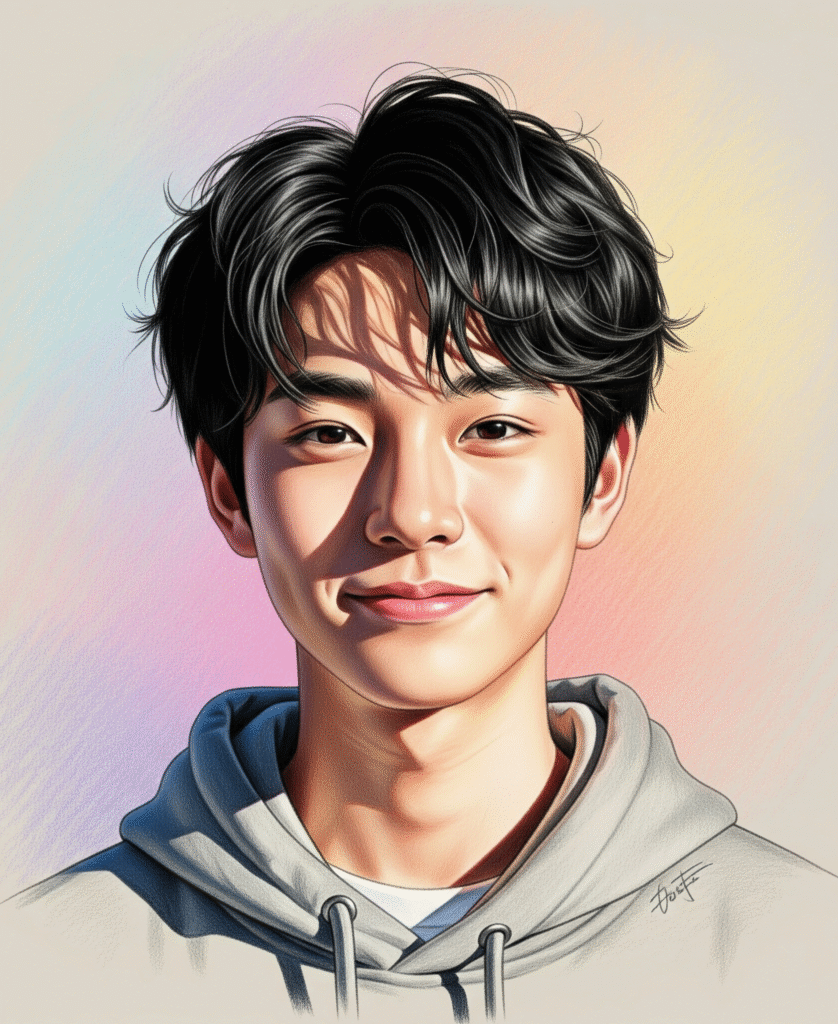
Colored pencil portraits offer a soft, luminous quality that is ideal for rendering lifelike skin tones. The key to realism lies in blending multiple layers of color to achieve depth, richness, and smooth transitions. Mastering skin tone blending is a crucial step for any portrait artist working with colored pencils.
🌈 Why Skin Tone Blending Matters in Colored Pencil Portraits
- Captures realistic complexion variations
- Adds depth and dimension to the face
- Avoids flat or cartoonish results
- Enhances the portrayal of light and shadow
- Emphasizes age, ethnicity, health, and mood
📝 Blended skin tones create the illusion of pores, softness, and natural light on skin.
🖍️ Essential Colored Pencils for Skin Tone Blending

1. Recommended Brands
- Prismacolor Premier – soft, wax-based, excellent for blending
- Faber-Castell Polychromos – oil-based, vibrant and precise
- Caran d’Ache Luminance – artist-grade with excellent lightfastness
2. Essential Colors for Skin Tones
- Base Colors: Cream, Light Peach, Beige, Light Umber
- Shadows: Burnt Ochre, Sienna, Dark Umber, Greyed Lavender
- Highlights: White, Buff Titanium
- Undertones: Pale Pink, Blush, Terra Cotta, Cool Grey, Olive Green
🌟 Each skin tone contains a mix of warm, cool, and neutral hues.
🧠 Understanding Skin Tone Structure
Skin isn’t one flat color — it’s a translucent surface with layers of blood vessels, fat, and muscle that affect its appearance. Key aspects include:
- Undertone (cool, warm, neutral)
- Surface color (depends on lighting and race)
- Blush zones (cheeks, nose, ears)
- Shadow zones (eye sockets, under chin, temples)
- Highlight zones (forehead, cheekbones, tip of nose)
📝 Step-by-Step: Blending Skin Tones with Colored Pencils

1. Start with a Light Sketch
- Use a hard graphite pencil (H or 2H) or light sepia colored pencil
- Avoid heavy lines – they may show through
2. Block in Base Layer
- Use light pressure to apply a base color (like Light Peach or Cream)
- This sets the tone for blending and layering
3. Build Layers Gradually
- Add midtones like Peach, Beige, or Blush Pink
- Apply colors using circular strokes for an even finish
- Layer darker colors for shadows, such as Burnt Ochre or Cool Grey
4. Blend with a Lighter Pencil
- Use a lighter tone pencil or white to softly blend layers
- Burnish carefully without pressing too hard
5. Add Details
- Deepen shadows with Dark Umber, Sienna, or French Grey
- Add red or pink undertones in cheeks, nose, and lips
- Use sharpened pencils for pores, fine wrinkles, or freckles
6. Burnishing (Optional Final Step)
- Burnishing involves pressing hard with a light pencil or colorless blender to fuse layers
- Use sparingly to avoid wax bloom or muddy colors
💡 Tips for Smooth Skin Blending
- Work in light, slow layers – don’t rush
- Use circular strokes, not back-and-forth lines
- Avoid overusing white – it can dull rich tones
- Keep pencils sharp for clean edges and subtle texture
- Use a soft brush to wipe away crumbs – not your hand
🖌️ Blending Tools to Explore
- Colorless Blender Pencil – for smooth transitions
- Blending Marker – dissolves wax and softens edges
- Tissue or Cotton Swab – for very light blending
- Solvents (e.g., Gamsol) – for advanced artists (use sparingly)
⚠️ Always test solvents on scrap paper and ensure proper ventilation.
🌍 Skin Tone Palettes for Different Ethnicities


1. Fair Skin
- Cream, Light Peach, Pink, Blush, Warm Grey
2. Medium/Tan Skin
- Peach, Sienna, Burnt Ochre, Goldenrod, Sepia
3. Brown Skin
- Burnt Sienna, Chocolate, Chestnut, Warm Grey, Olive Green
4. Dark Skin
- Dark Umber, Walnut Brown, Indigo, Terracotta, Deep Red
🎨 Layering cool and warm tones together creates a more lifelike result.
🔬 Realistic Texturing for Skin
- Freckles: Use sharp pencil tip and light dots in reddish-brown
- Wrinkles or Fine Lines: Use dark grey or muted violet, lightly layered
- Pores: Tiny, random stippling with a dull pencil
- Scars or Blemishes: Vary tones slightly with subtle texture work
🧪 Practice Exercises
- Skin Tone Swatch Chart
- Mix and test various color combinations on a separate sheet
- Sphere Shading with Skin Colors
- Practice skin tones on a sphere to understand form and light
- Portrait Fragment Studies
- Focus on small areas like cheeks or forehead to master blending
- Multiple Ethnicity Faces
- Practice rendering portraits with a range of skin tones and lighting
🔍 Common Mistakes to Avoid
- Pressing too hard in early layers
- Using only one or two colors for the skin
- Ignoring undertones and color shifts
- Overburnishing too early
- Neglecting lighting direction and facial planes
🖼️ Final Touches
- Add highlight dots on the nose tip, cheeks, and eyes using a white pencil or gel pen
- Slightly blur edges around the face for a more natural finish
- Double-check for color harmony in all areas of the face and neck
🎓 Conclusion: Blending Skin Tones with Confidence
Blending skin tones with colored pencils is an art form in itself. It takes patience, observation, and layering — but the result is a portrait filled with life, softness, and beauty.
Keep practicing, experimenting with palettes, and studying faces under different lights. With time, you’ll develop your own unique color language for skin that enhances every portrait you create.